
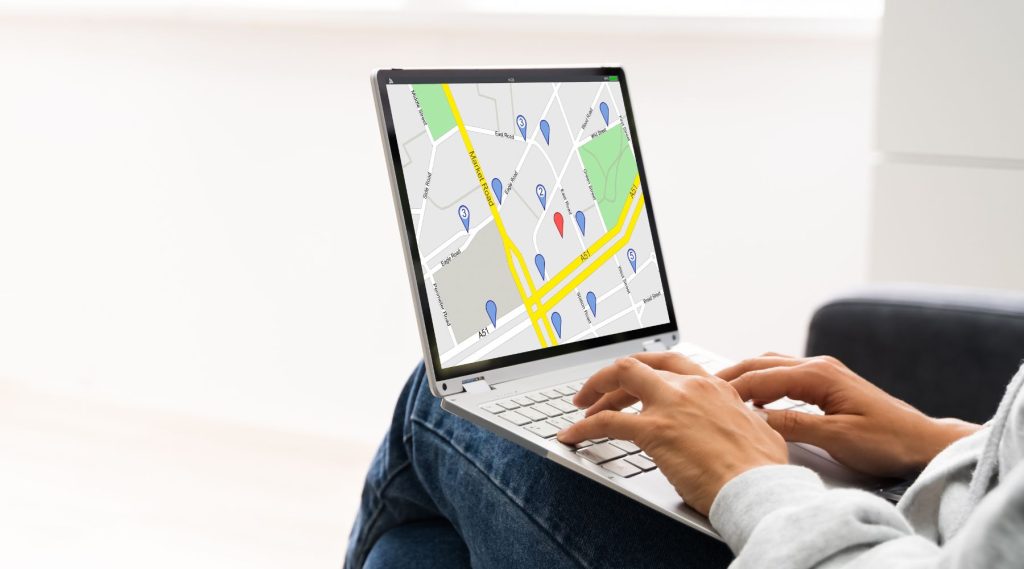
Multi-location SEO works best when every physical location has three things that match each other: its own Google Business Profile, its own page on your website and consistent name, address and phone details across the web. Each profile links to its matching location page, and each page proves to customers and Google that this branch is real, local and different from the others. Get that structure right and each location can compete in its own local results instead of all of them fighting over one homepage.
This guide is for businesses with two or more physical offices, stores or branches. If you serve several cities from one location, that’s a different situation, covered in our guide to location pages for SEO.
Why Multi-Location SEO Is Different
Google’s local results are heavily shaped by proximity: where the searcher is relative to each business. A single website with one address can only be “near” one place. When you have several branches, you need to give Google a clear, separate signal for each one, so the right branch appears for searchers near it.
The most common problems in multi-location businesses come from treating them as one:
- All Business Profiles link to the homepage, which doesn’t mention any branch specifically.
- Location details live only in a footer list, with no dedicated page per branch.
- Branch pages exist but use identical text with the city name swapped.
- Phone numbers, hours or suite numbers differ between the website, the profiles and directories.
Step 1: Set Up One Business Profile per Eligible Location
Google’s guidelines allow a Business Profile for each location where you serve customers in person during stated hours, staffed by your business. A mailbox, a virtual office or an unstaffed storage unit doesn’t qualify.
- Use the same brand name across all profiles, matching your signage. Don’t add the city or keywords to the name.
- Give each location its own local phone number where possible, rather than one central number for all.
- Set each location’s own hours, including holiday hours.
- Choose categories that reflect what each location actually offers. Branches don’t all have to be identical.
- If you have ten or more locations, Google offers bulk verification for chains, which can make management easier.
For field-by-field setup, see our Business Profile optimization guide.
Step 2: Build a Location Page for Each Branch
Each location gets a dedicated page, usually under a clear structure such as /locations/mesa/ or /locations/scottsdale/, plus a locations hub page that lists and links to all of them.
What to put on every location page
- The full name, address and phone number for that branch, matching its Business Profile exactly.
- Hours, including any differences from other branches.
- An embedded map and plain driving or parking directions, such as which entrance to use or nearby landmarks.
- Services offered at this location, especially anything unique to it.
- Photos of the actual building, signage, interior and team.
- The branch manager or team, if you’re comfortable sharing names.
- Reviews from customers of this branch.
- A clear call to action that reaches this branch: its phone number, its booking link.
How to make each page genuinely different
The hard part of multi-location SEO is avoiding near-duplicate pages. Branches often offer the same services, so the differences need to come from real local detail:
- Neighborhoods and nearby areas each branch serves most.
- Local parking, accessibility and transit notes.
- Staff specialties or services only available there.
- Local community involvement, sponsorships or events.
- Frequently asked questions customers ask at that branch.
Step 3: Link Each Profile to Its Own Page
In each Business Profile, set the website field to that branch’s location page, not the homepage. This connects the profile and the page as one local entity: the page reinforces the profile’s address and services, and the profile sends local visitors to the most relevant page.
To measure each branch separately, many businesses add tracking parameters to these links, so Analytics can show which visits and leads came from each profile.
Step 4: Add Location-Specific Structured Data
Structured data is code that labels business details for search engines. On each location page, add LocalBusiness markup (or a more specific type that matches your business) with that branch’s name, address, phone, hours and geo-coordinates. Your main organization’s details can live on the homepage. Make sure the markup matches what’s visible on the page, since Google’s structured data guidelines require markup to reflect the page content.
Step 5: Keep Citations Consistent for Every Branch
Each location needs its own consistent listings on major directories and data sources. With several branches, mismatches multiply fast, especially after a move or a phone system change. Keep a simple spreadsheet with the exact name, address, phone, hours and page URL for each location, and use it as the single source of truth for every listing. Our guide to NAP consistency explains why this matters.
Step 6: Build Reviews at Each Location
Reviews belong to individual profiles, so a busy branch with many reviews doesn’t help a newer branch with few. Make review requests part of each location’s routine, and send customers to that branch’s review link, not a general one. If a branch is new, focus there first.
Step 7: Link Internally Between Locations and Services
- Link the locations hub from your main navigation or footer.
- Link from each location page to the service pages relevant to that branch.
- From service pages, link to the locations where that service is offered.
This helps visitors find the closest branch and helps search engines understand how your locations and services connect.
Opening, Moving or Closing a Location
Multi-location businesses change over time, and each change has SEO consequences.
- Opening a branch: create the location page before or at opening, set up and verify the Business Profile, add the branch to your locations hub and start review requests right away.
- Moving a branch: update the address on the existing Business Profile instead of creating a new one, so you keep its reviews. Update the location page, structured data and directory listings at the same time.
- Closing a branch: mark the profile as permanently closed, and redirect its location page to the nearest open branch or the locations hub rather than leaving a broken page.
- Merging two branches: keep the profile with the stronger history at the remaining address, and close the other.
Common Multi-Location SEO Mistakes
- Creating profiles for locations that don’t meet Google’s eligibility rules, which risks suspension.
- Pointing every profile at the homepage.
- Using the same paragraphs on every location page.
- Letting branch managers change details on directories without updating the master list.
- Closing or moving a branch without updating its profile and redirecting its location page.
- Reporting only overall results, which hides a branch that’s struggling.
Multi-Location SEO Checklist
- One verified Business Profile per eligible, staffed location.
- One unique location page per branch, linked from a locations hub.
- Each profile’s website link points to its own page.
- Name, address, phone and hours match exactly across page, profile and directories.
- LocalBusiness structured data on each location page.
- Review requests running at each branch.
- Leads and visits tracked per location.
A multi-location website works best when the structure is planned from the start. If you’re adding locations or reorganizing your site, our SEO services can set up each branch to compete in its own market.